Dividing and replanting bearded irises

An oftenly criticized feature of modern bearded irises is the dividing of clumps, which becomes necessary every 3 or 4 years. The entire clump has to be taken out of the bed whereupon the rhizomes are rejuvenated by cutting off old pedicels and rhizome pieces.
But dividing bearded irises isn't just a chore - the whole procedure does also have advantages:
Your irises won't grow together and you can easily multiply them.
The following 10 steps will show you how to divide your bearded irises fast and thoroughly.
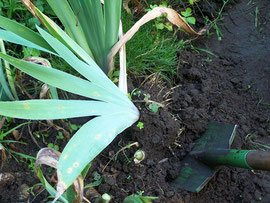
1. Lifting
Although it might look as if the rhizomes are only lying on the soil, they are deeply rooted. You should keep that in mind while lifting the clumps. So do not spade too close to the rhizome.
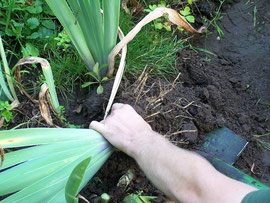
2. Taking the plant
If the roots appear you can grab the plant and pull it out of the soil.
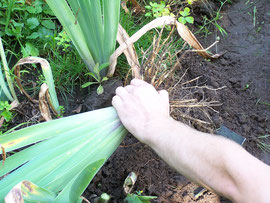
3. Shaking off soil
If you order any irises, you will receive bare-root plants. In your own garden it's enough to just shake the soil off. - You don't have to wash it.
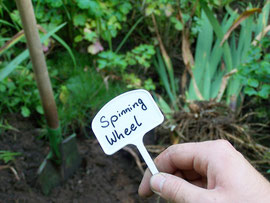
4. Collecting the plants
It's to be recommended to dig out all plants of one variety before continuing with the next steps just to save yourself from getting mixed up with more than one variety. Be also mindful of taking the label (if exisitng) of your iris.
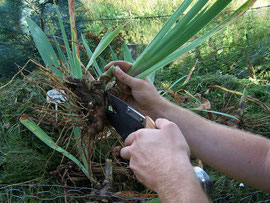
5. Cutting off old rhizomes
In order to get single, healthy plants you cut off old rhizomes.
6. Trimming roots
To stimulate new root growth, the roots should be shortened.
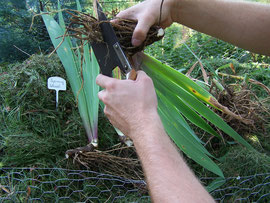
7. Trimming foliage
Because the shortened roots can't provide the whole foliage with sufficient nutrients and water, the foliage has to be taperingly pruned. That saves the sprout in the middle of the foliage.

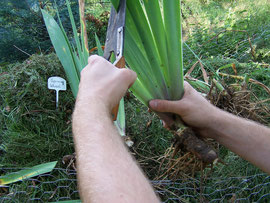
That's what your irises should look like after first care. - Now they are ready to be planted again.

8. Preparing soil
Bearded irises need good drainage and every now and again some compost for a healthy and strong growth. So if necessary you should mix some sand and compost into the soil.

9. Planting
Now the iris can be planted into the mixed substrate. In order to optimize the drain you can plant it slightly elevated. And don't forget labeling!

10. Watering
Even if bearded irises else don't have to be watered, it's importent after planting, because the roots must be encompassed by soil.


Search:
Share:
Ask:
